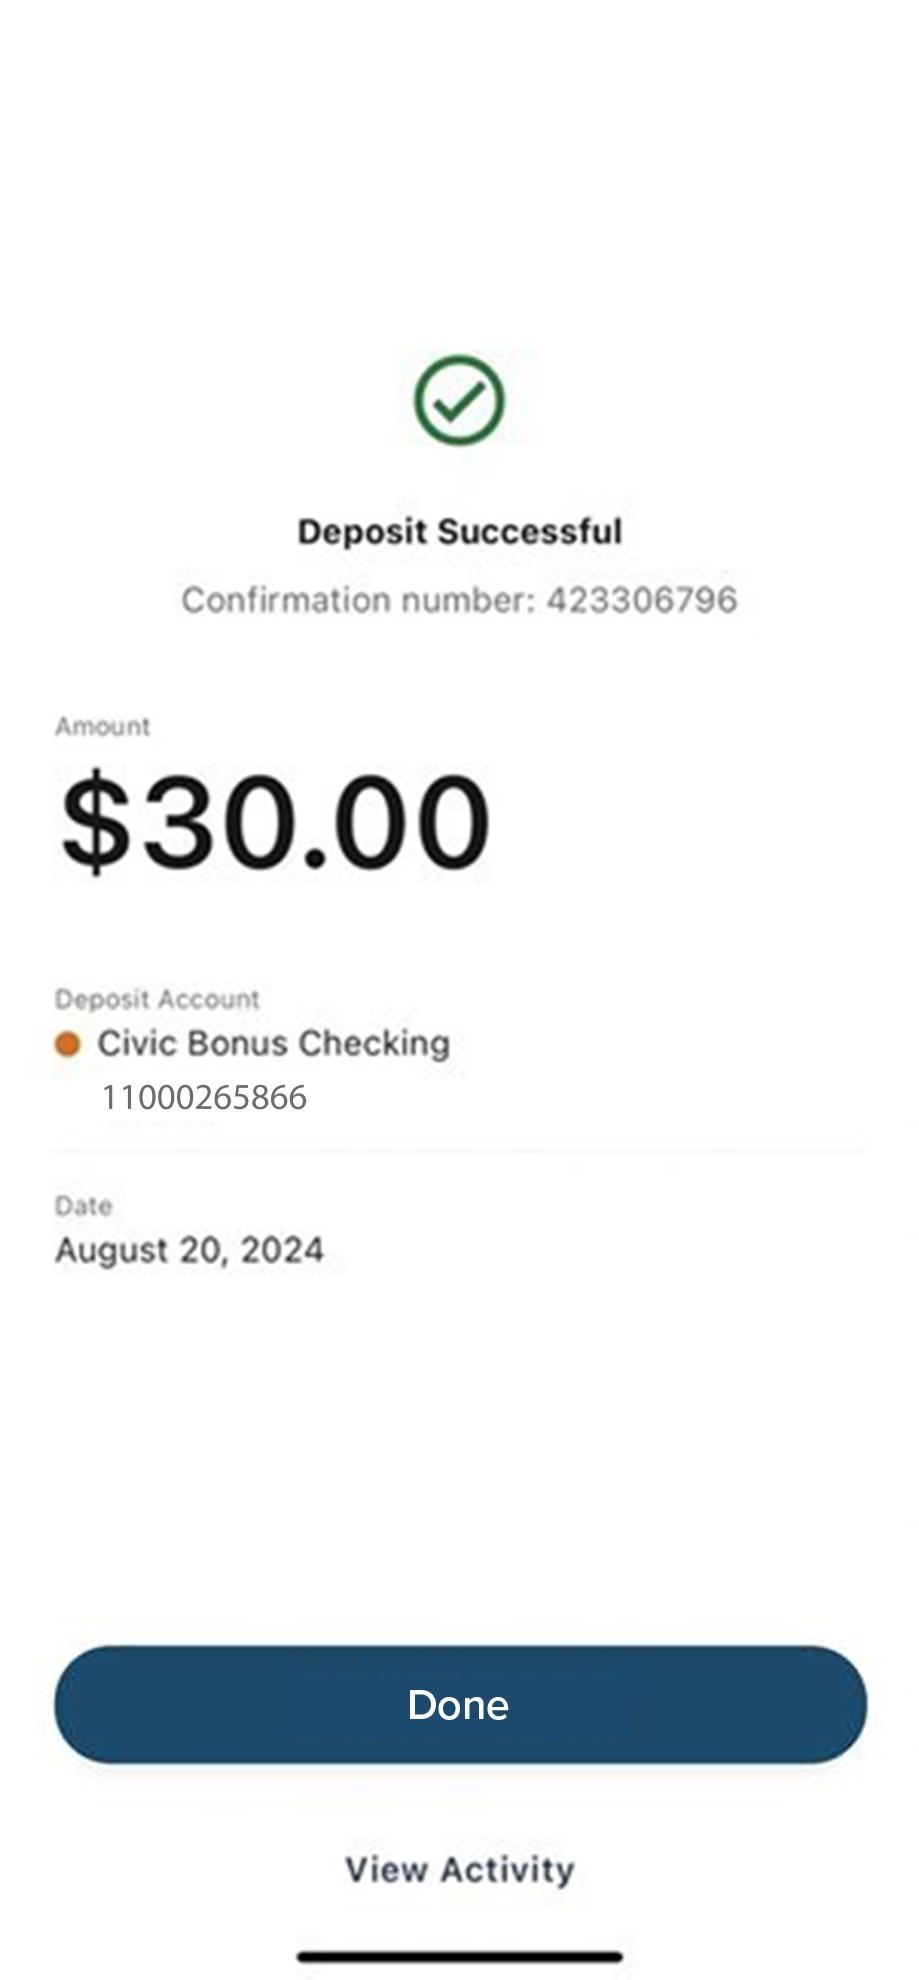
Deposit a check
This step-by-step guide is here to help make your Civic experience faster and easier! Your experience may be slightly different than this guide, depending on the device you’re using. If you need additional help, contact us at 844-772-4842.
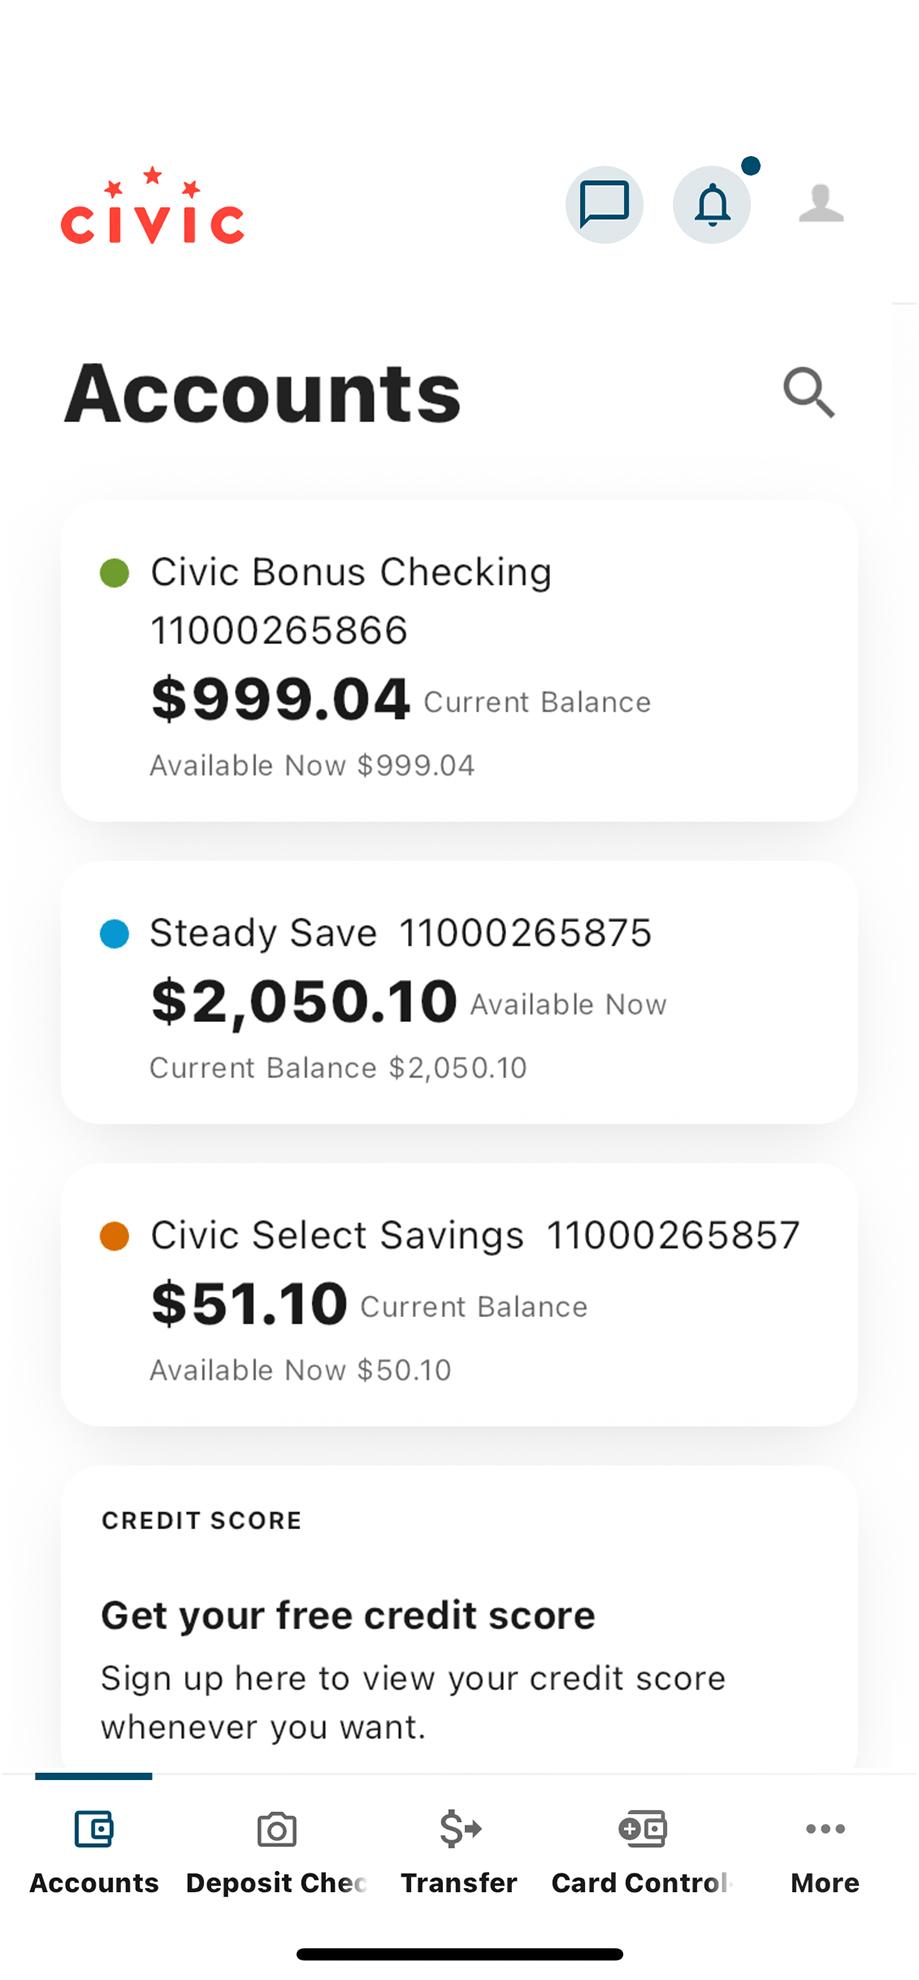
1. View accounts dashboard
Once you log in, you will see your accounts dashboard. This screen displays all your Civic accounts and cards, and any external accounts you may have set up.
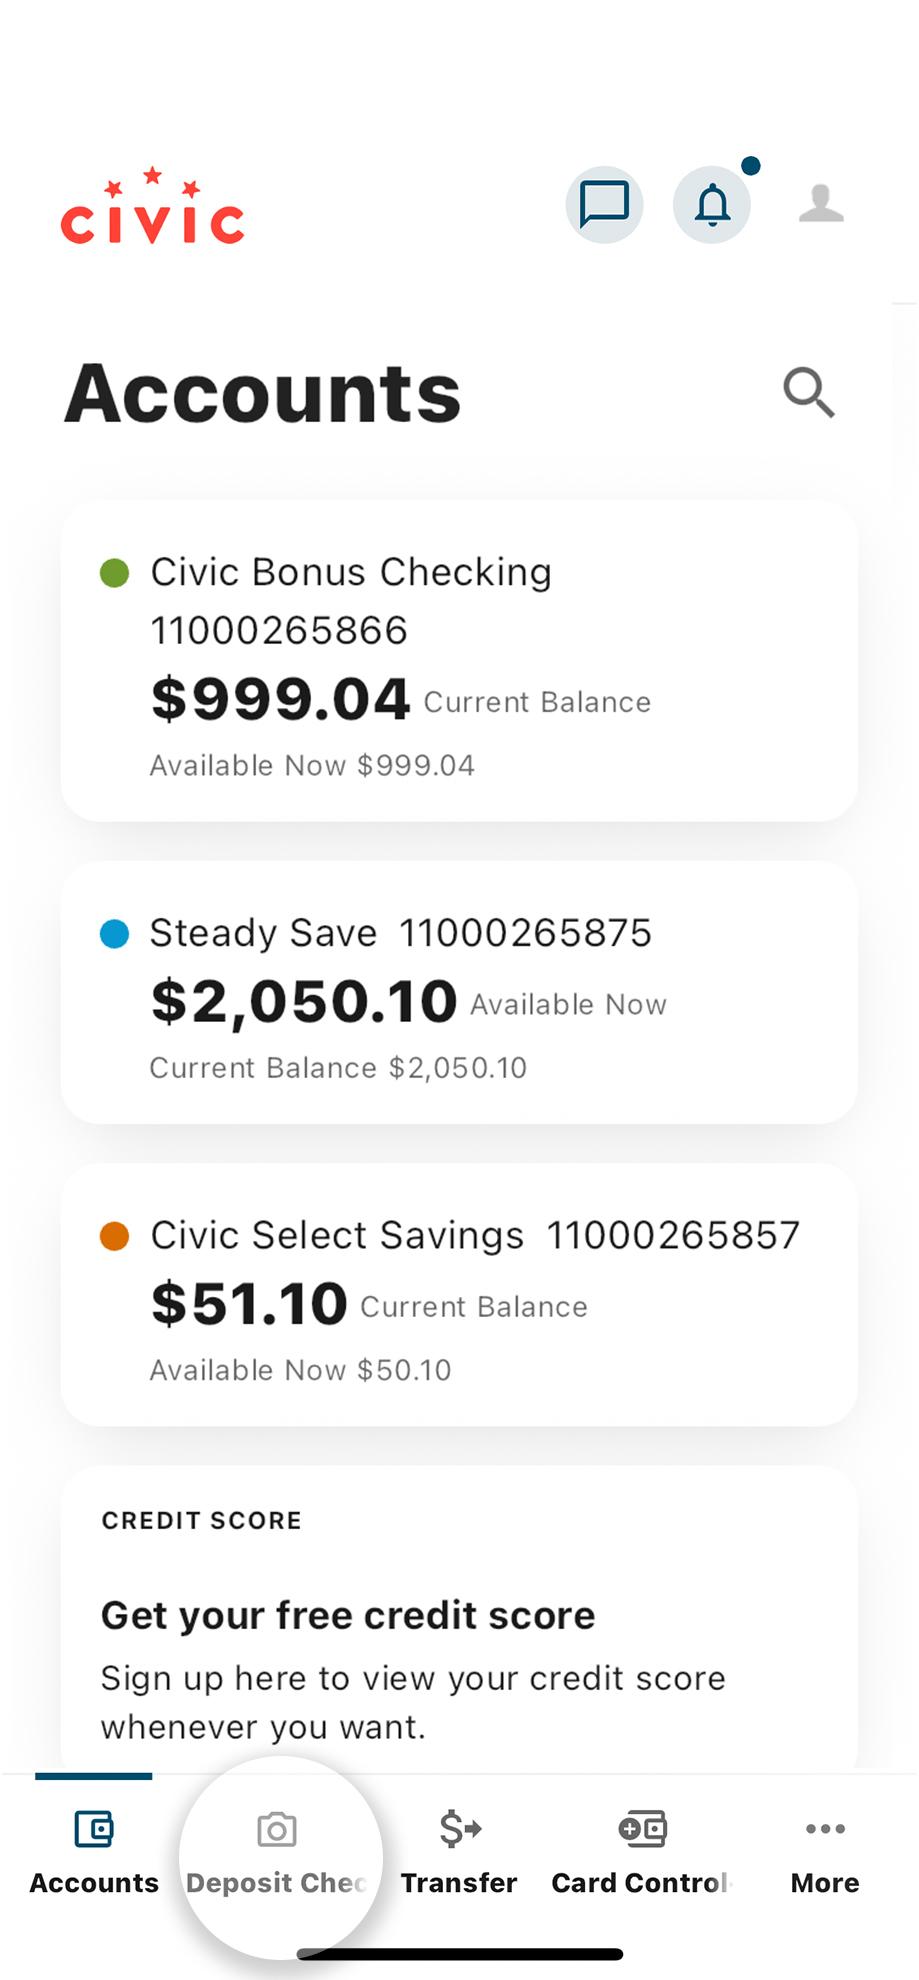
2. Tap ‘Deposit Check’
In the menu at the bottom of your screen, tap Deposit Check.
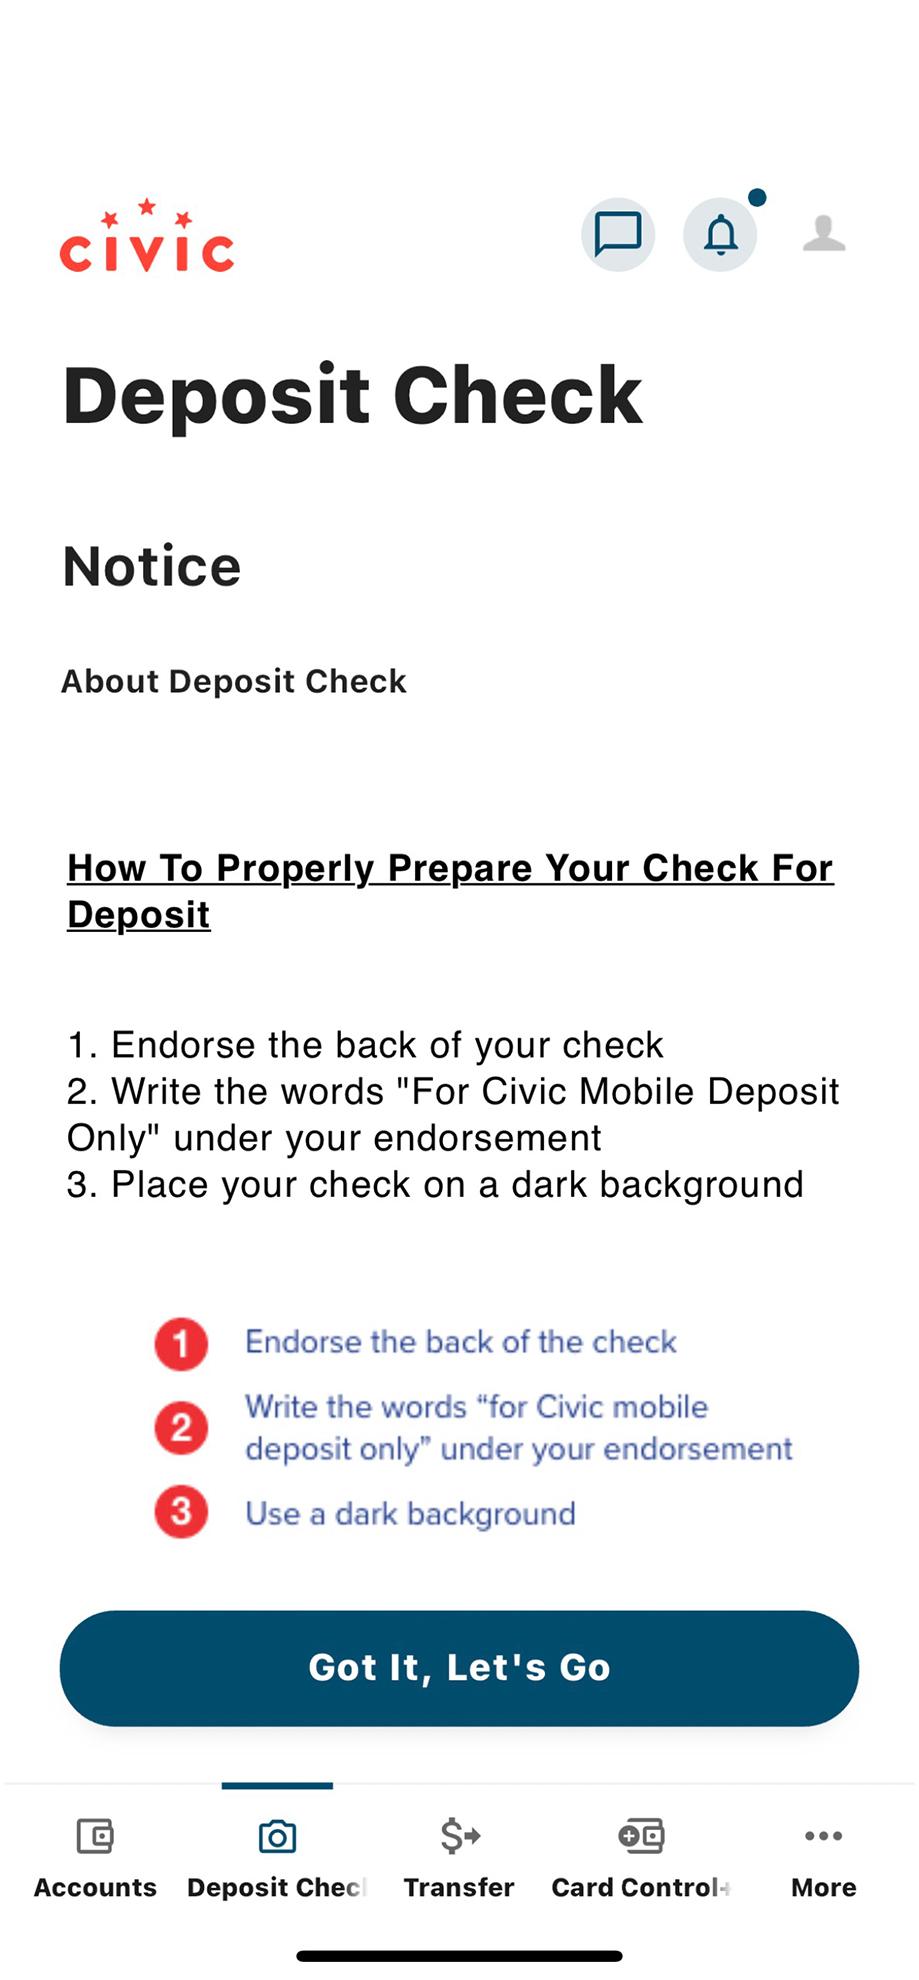
3. Scroll to read notice
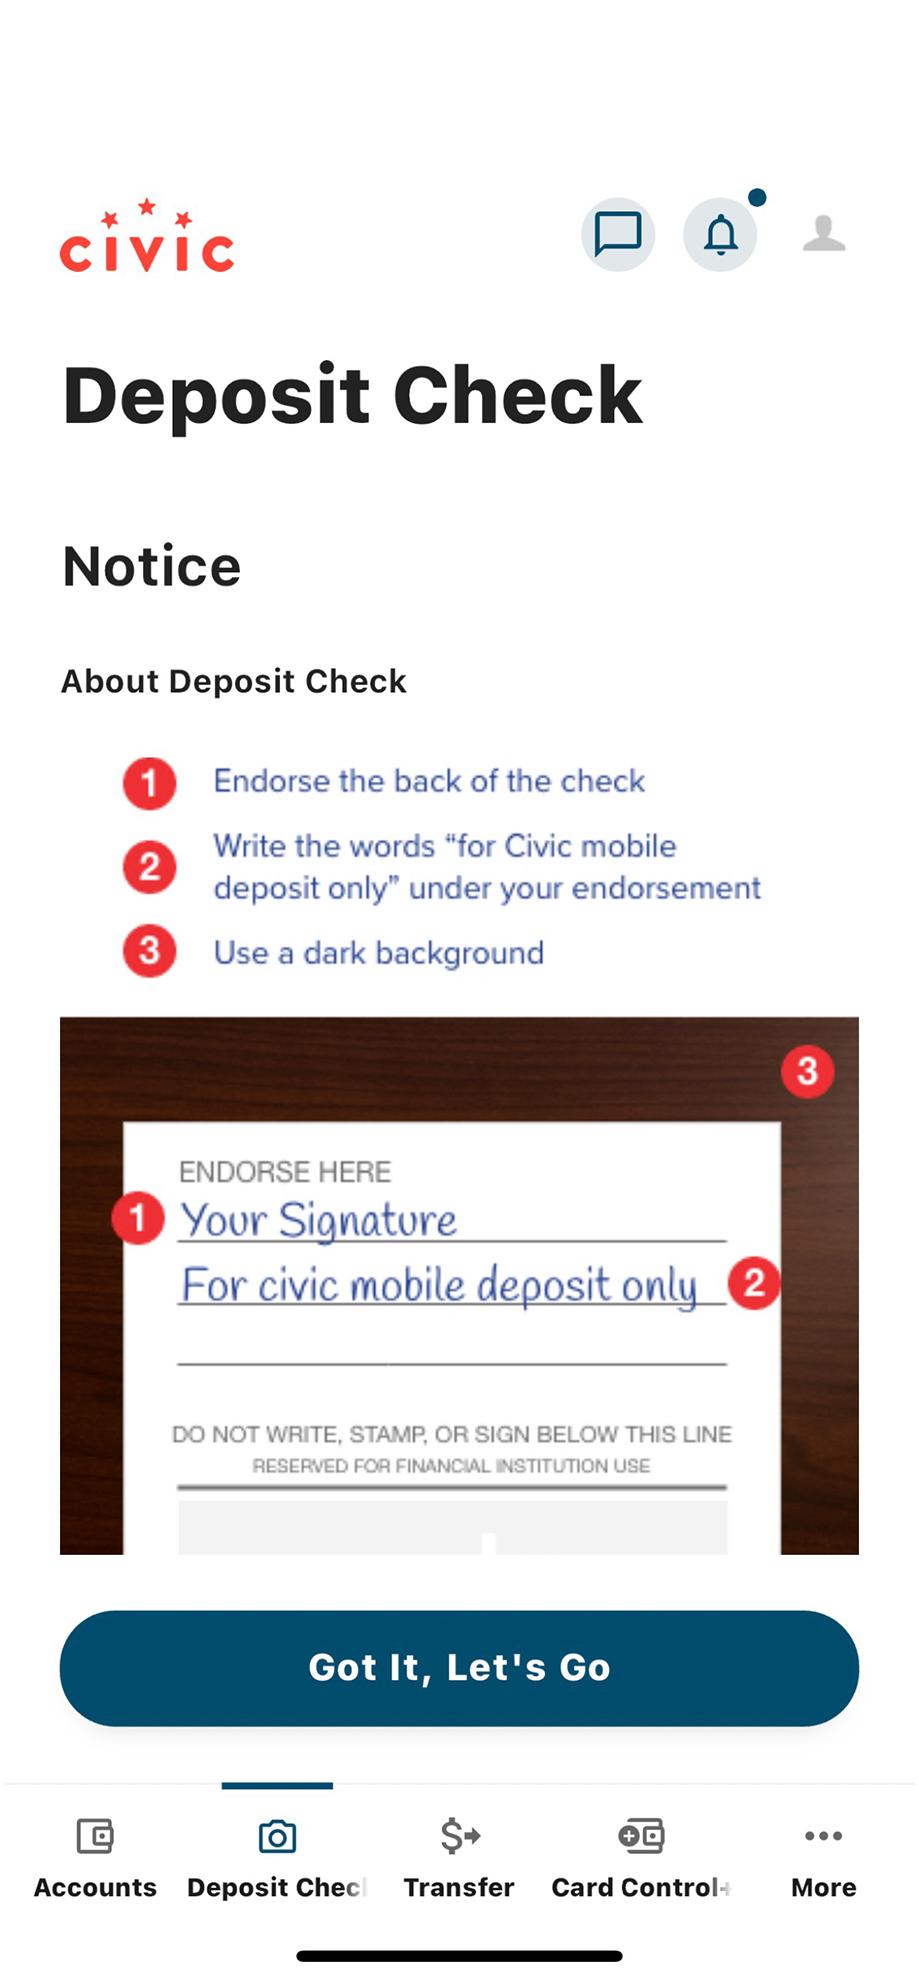
To ensure your check is accepted, scroll to read our notice on how to prepare your check for deposit.
4. Sign your check, and prepare to take a photo
Be sure you sign the back of the check. Below your signature, add the phrase “for Civic mobile deposit only.” Then, prepare to take a picture of your check using your mobile phone.
Use a dark background to make taking pictures of the check easy!
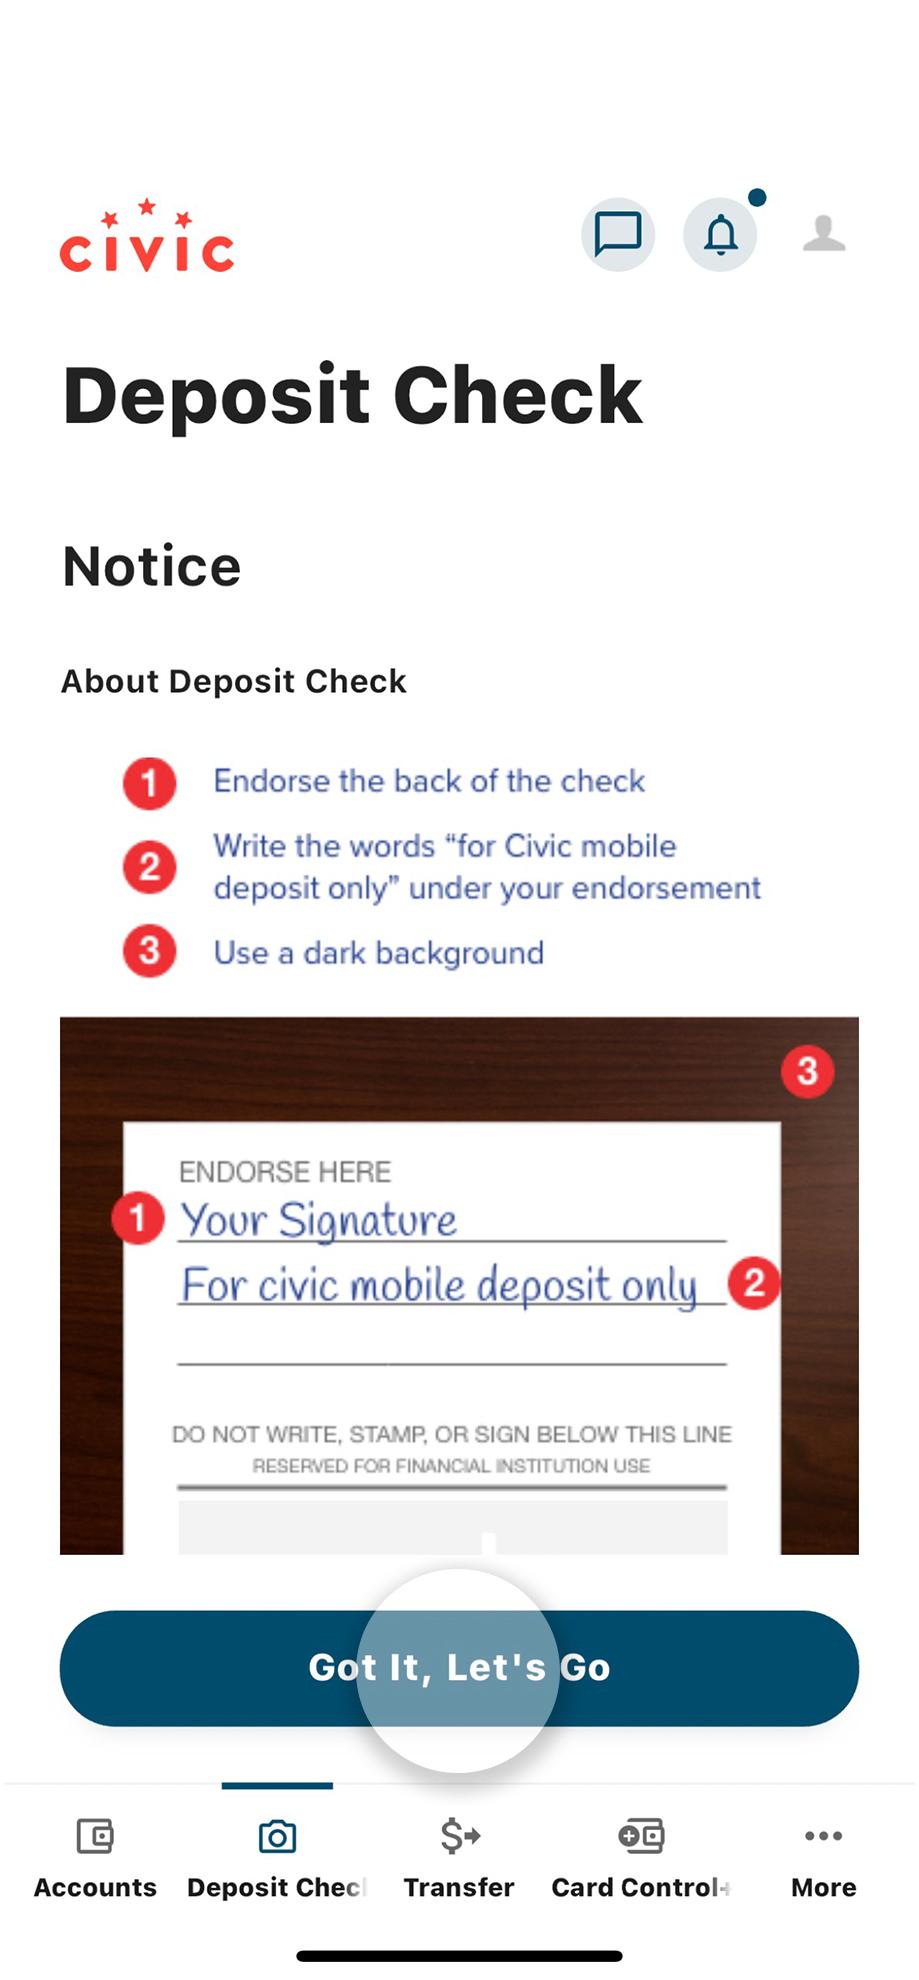
5. Tap ‘Got It, Let’s Go’
Once you’ve read the notice and properly endorsed your check, tap the Got it, Let’s go button to continue.
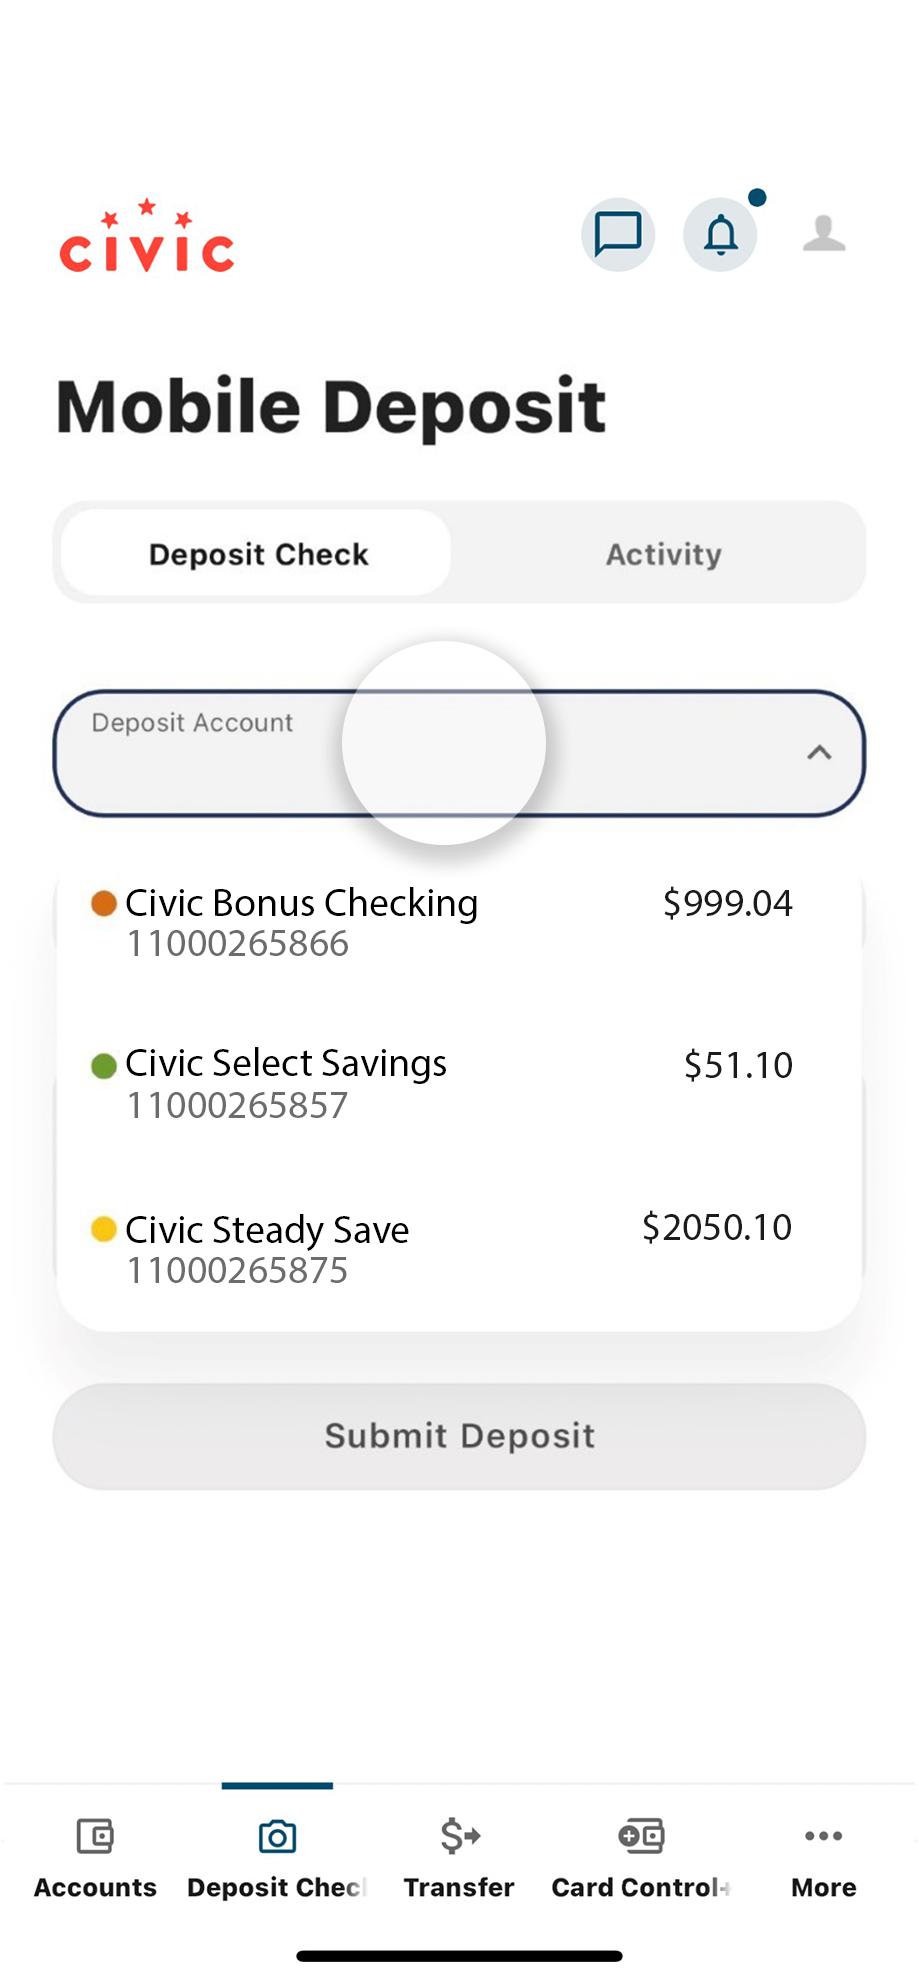
6. Tap ‘Deposit Account’
Under the Deposit Check header, you’ll see Deposit Account, with a drop-down showing a list of eligible accounts for your deposit. Use the drop-down to select the account you want.
7. Tap ‘Deposit Amount’
Enter the amount specified on the check.

8. Tap ‘Front of Check’
Tap Front of Check. Use your mobile phone camera to take a picture of the front of the check. Our mobile check scanner will do the rest!
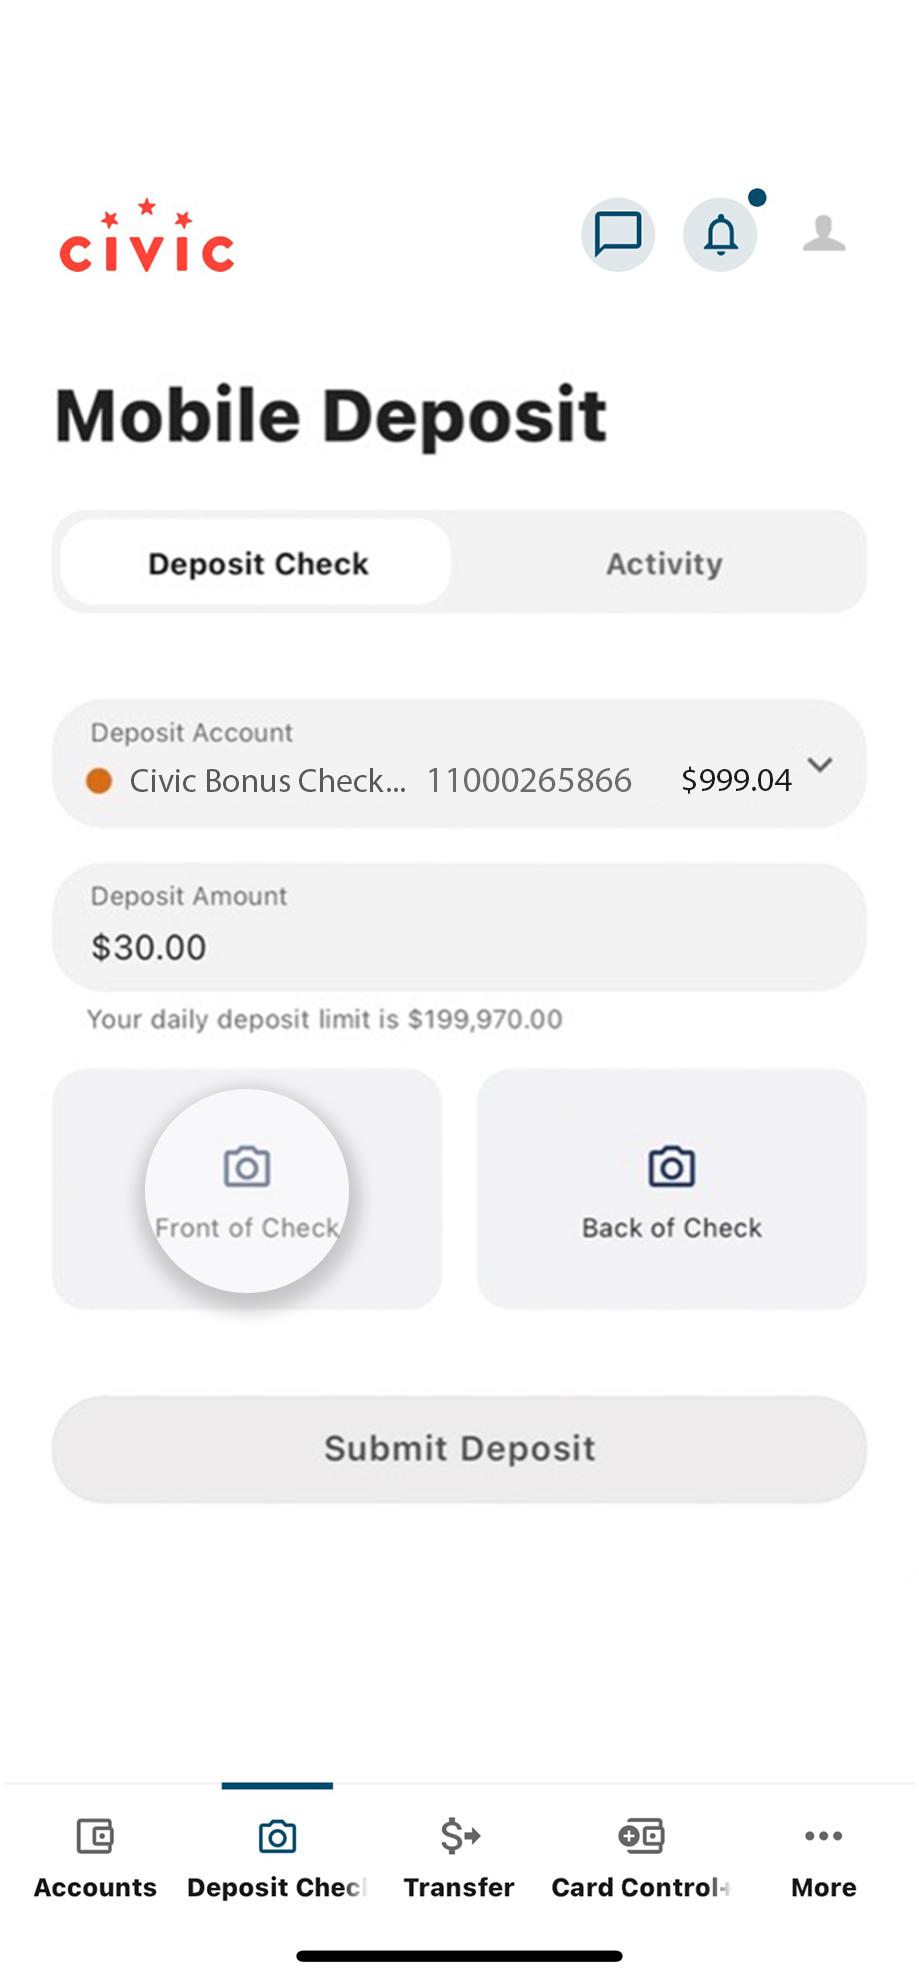
9. Tap ‘Back of Check’
Tap Back of Check to take an image of the back of the check. Use your mobile phone camera to take a picture of the back of the check, including your endorsement. Our mobile check scanner will do the rest!
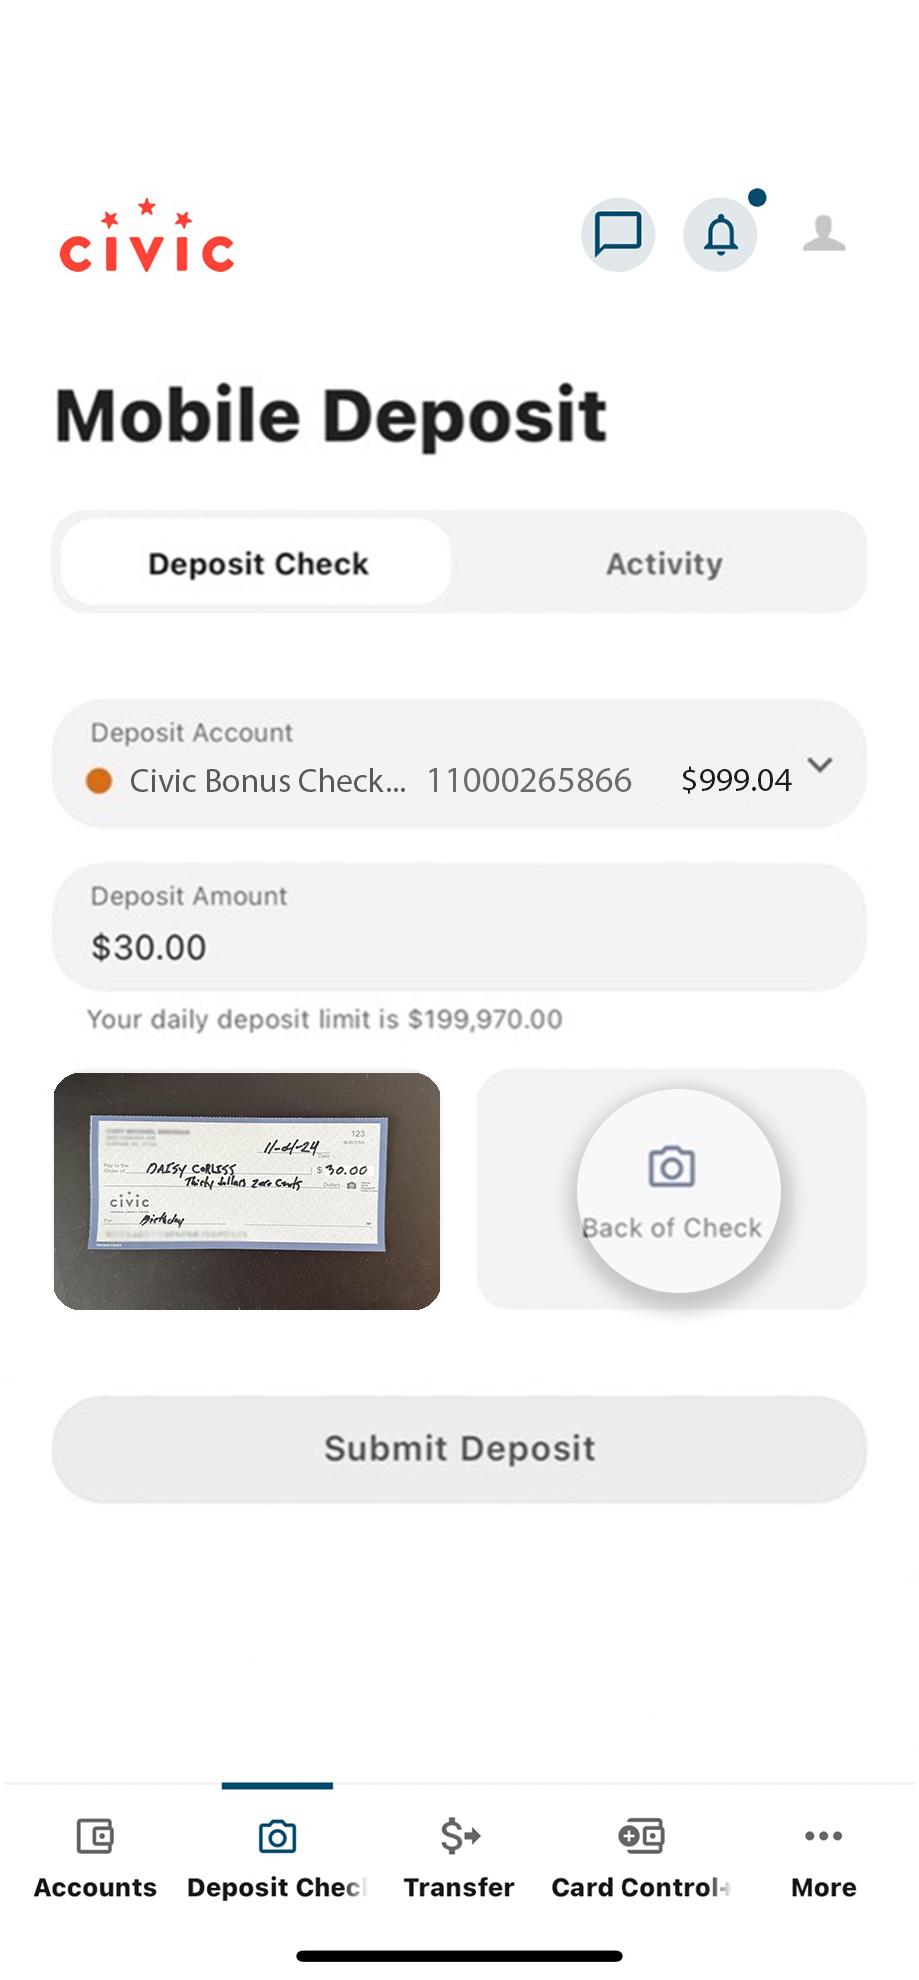
10. Tap ‘Submit Deposit’
Once both images are taken, you will see the Submit Deposit button light up. Tap it to deposit the check.
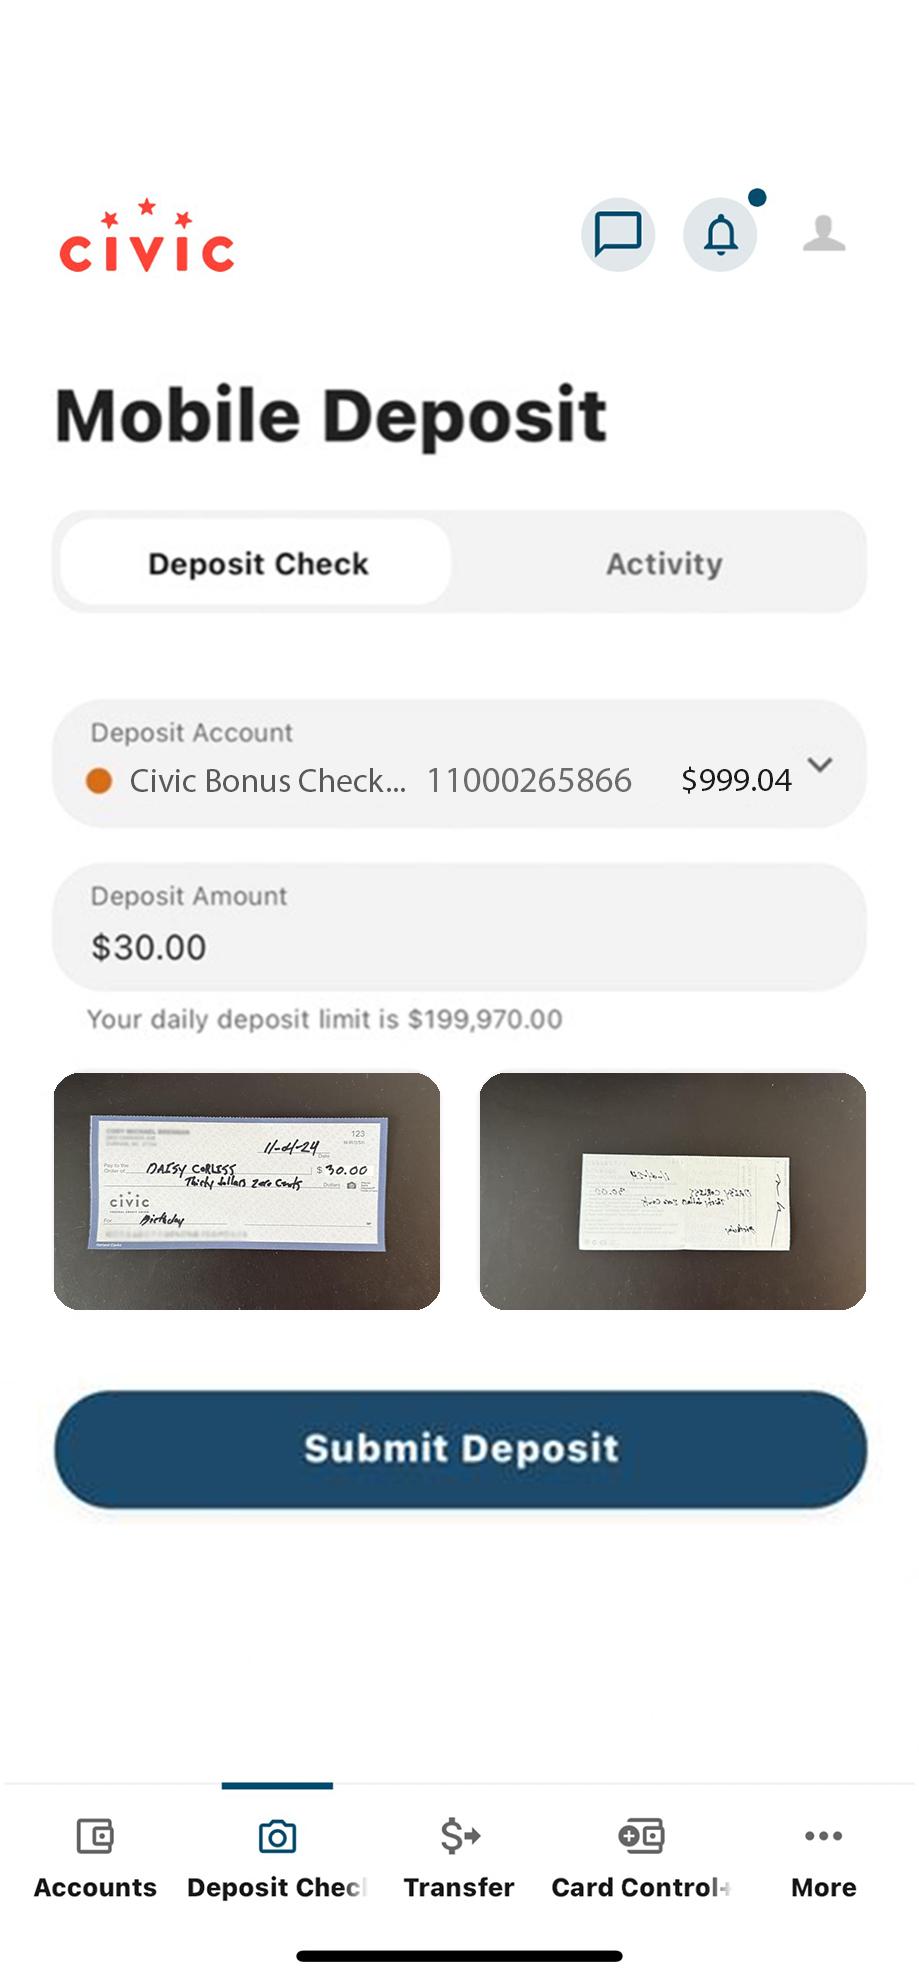
11. View confirmation screen
After successfully completing the check deposit process, you will land on a confirmation screen notifying you that we have received your check.
